
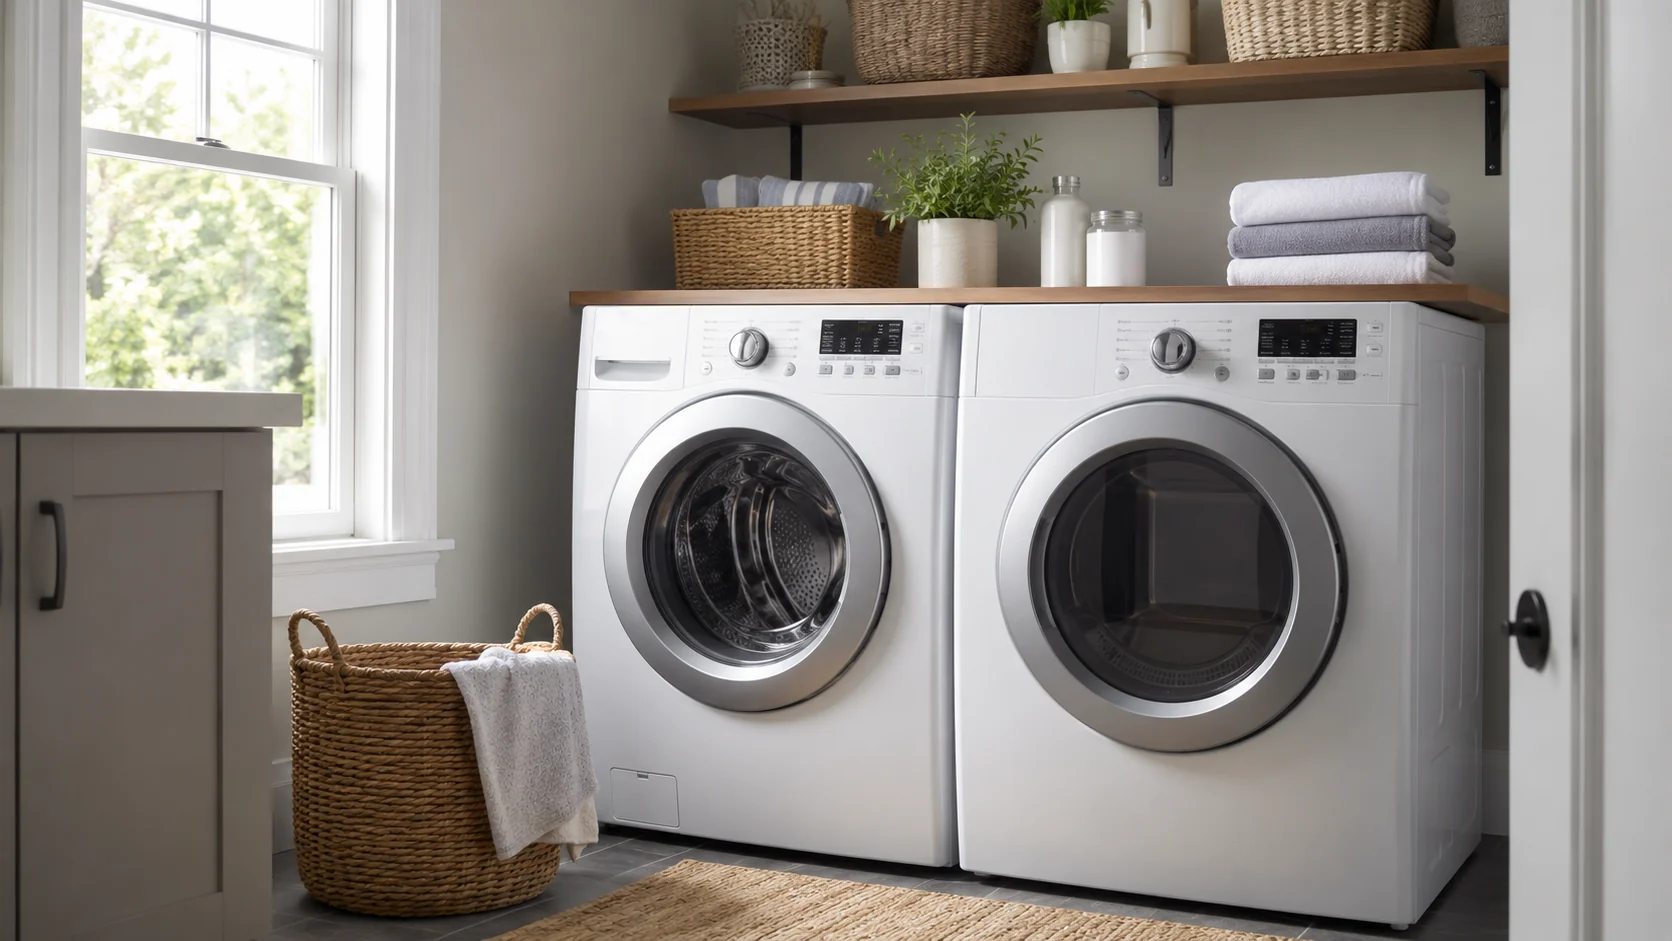
A laundry room maintenance checklist should help you notice change before a small maintenance issue becomes an expensive surprise. Drying time starts creeping up. The outside vent flap barely opens. A faint damp ring appears under the washer. A front-load gasket stays wet long after the cycle ends. Those are the details worth catching—not just boxes worth checking.
This 12-point checklist separates frequent habits from model-specific maintenance. Dryer airflow gets special attention because lint and restricted exhaust can affect both performance and fire safety. Washer care focuses on water connections, drainage, trapped moisture, and the cleaning tasks your exact owner’s manual identifies.
One rule comes before every schedule below: your appliance manual and local installation requirements take priority. Washer filters, cleaning cycles, hose instructions, vent layouts, and service boundaries vary by model. Use this laundry room maintenance checklist as a repeatable inspection framework, then replace generic timing with model-specific instructions wherever the manufacturer gives them.
In this guide
Laundry Room Maintenance Checklist: 12 Checks at a Glance
You do not need to perform all 12 tasks every weekend. Use this laundry room maintenance checklist in layers: a few habits happen with every load, several are quick visual checks, and deeper maintenance follows the appliance manual, household use, and warning signs.
| # | Check | Good trigger | What you are looking for |
|---|---|---|---|
| 1 | Dryer lint filter | Every dryer load | Lint, tears, heavy residue |
| 2 | Exterior dryer exhaust | Quick periodic check; sooner if drying changes | Noticeable exhaust, flap opening, blockage |
| 3 | Visible transition duct | After moving dryer and during routine inspection | Kinks, crushing, loose connection, damage |
| 4 | Full dryer exhaust path | Periodically and whenever warning signs appear | Lint restriction or blocked airflow |
| 5 | Washer inlet hoses and fittings | Quick monthly visual habit | Bulges, cuts, corrosion, dampness, drips |
| 6 | Floor, shutoffs, and connection area | Monthly and after moving washer | Slow leaks, staining, moisture, damaged fittings |
| 7 | Drain hose and visible standpipe area | Monthly or when drainage changes | Loose hose, leaks, overflow evidence, kinks |
| 8 | Gasket, dispenser, and trapped moisture | After use / routine wipe-down | Water, residue, debris, odor source |
| 9 | Tub/Self Clean cycle | Exactly as your manufacturer directs | Residue and odor-control maintenance |
| 10 | User-serviceable washer filter | Only if your manual identifies one | Debris, slow draining, maintenance reminder |
| 11 | Space around and behind appliances | Monthly or when accessible | Lint, dust, clutter, hidden moisture |
| 12 | Post-move connection and safety check | Any time an appliance is moved | Pinched hoses, crushed duct, cord damage, unstable setup |
Do not treat the suggested monthly visual checks as universal manufacturer mandates. They are a practical homeowner habit that makes slow changes easier to notice. Replacement intervals, cleaning-cycle frequency, and user-serviceable parts should come from the instructions for your exact washer and dryer.
Dryer Airflow: Checks 1–4
The dryer side of this laundry room maintenance checklist starts with airflow because a conventional vented dryer needs more than heat. It needs enough airflow to carry moisture out of the drum and through the exhaust path. The U.S. Consumer Product Safety Commission (CPSC) warns that lint buildup in a dryer or exhaust duct can block airflow, contribute to excessive heat, and create a fire hazard.
1. Clean and inspect the lint filter every load
This is the highest-frequency task on the entire laundry room maintenance checklist. CPSC guidance says to clean the lint screen or filter before or after each load, and ENERGY STAR recommends cleaning it after every load to improve air circulation, efficiency, and safety.
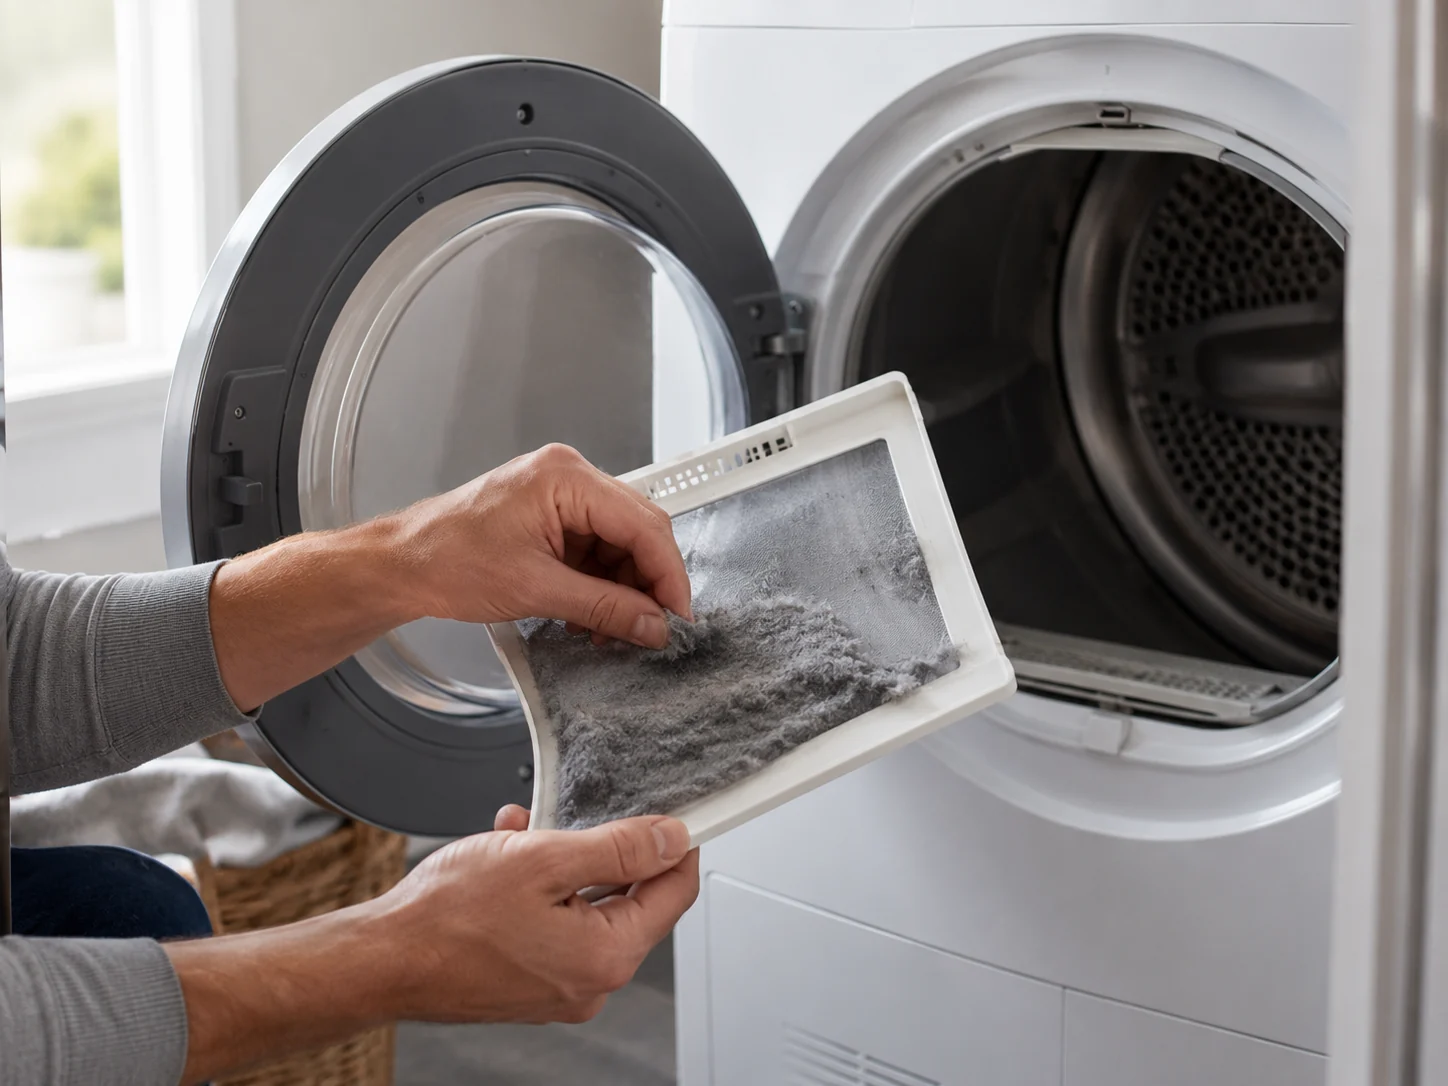
Do more than pull off the visible lint. Look at the screen itself. A torn filter, one that no longer sits correctly, or a mesh surface coated with residue deserves attention. ENERGY STAR notes that dryer sheets can leave a film on the filter that reduces airflow; follow the dryer manufacturer’s cleaning instructions rather than using an aggressive method that could damage the screen.
Important distinction: a clean lint filter does not prove that the vent duct is clear. The filter and the exhaust system are separate maintenance points.
2. Check whether exhaust is actually reaching the outdoors
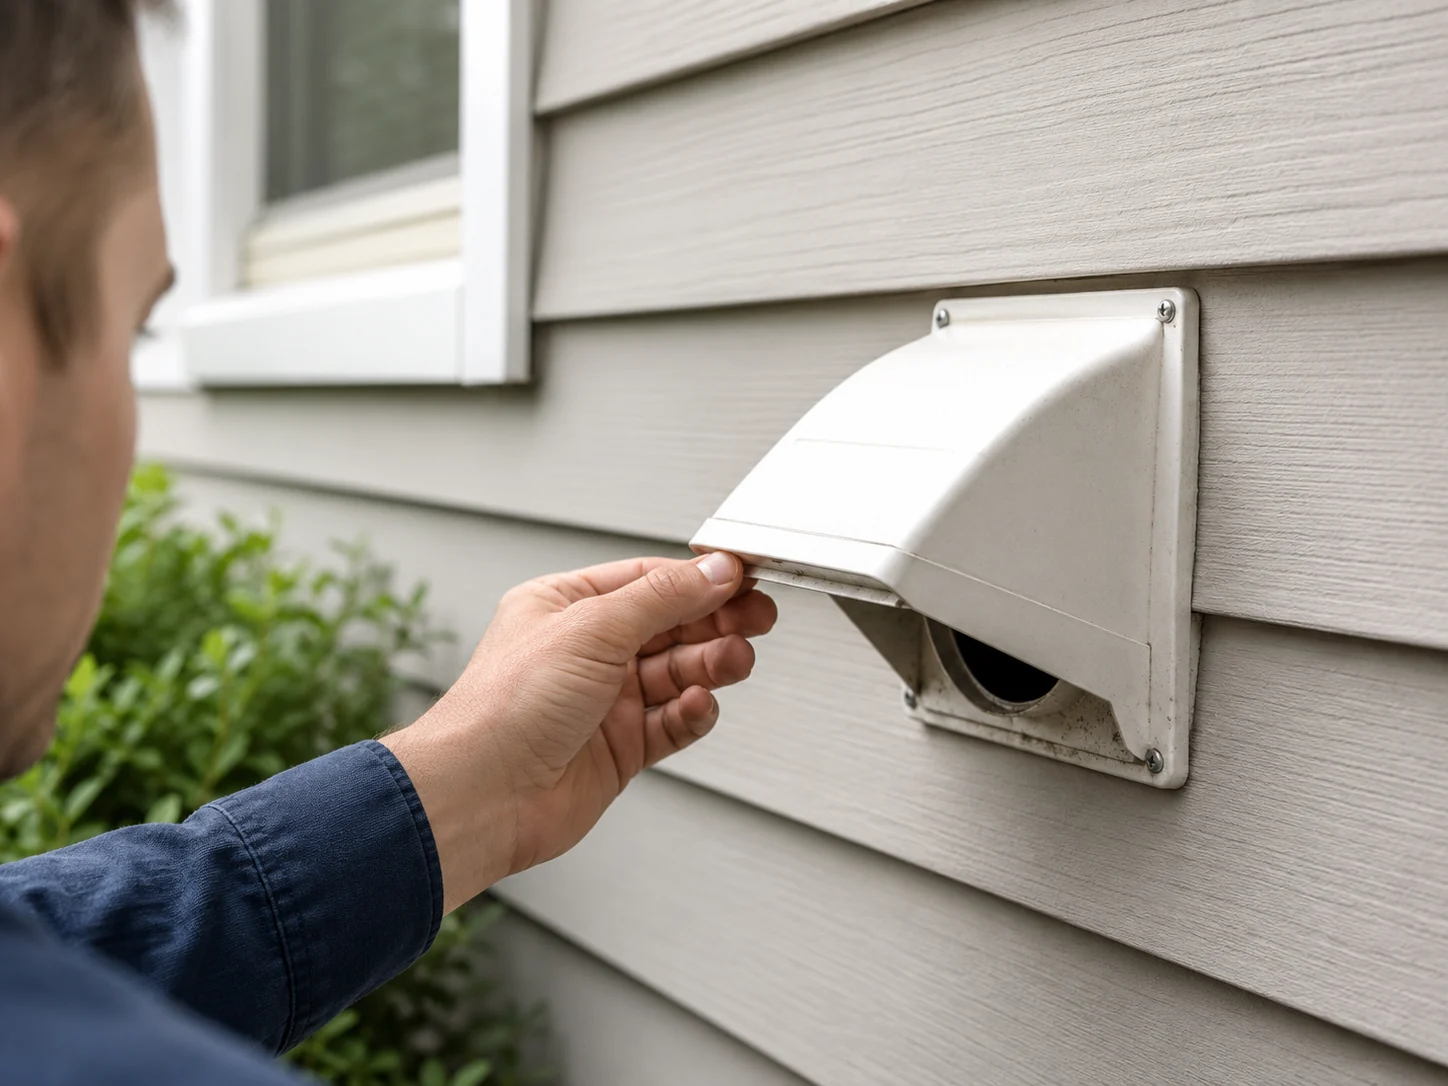
CPSC specifically recommends checking the outside dryer vent while the dryer is operating to make sure exhaust air is escaping. You are not trying to measure professional airflow with your hand—you are looking for an obvious change from normal: a flap that barely moves, almost no exhaust, or lint obstructing the outlet.
If normal loads suddenly take longer to dry, do not automatically blame the heating element. CPSC lists unusually long drying time or clothes that remain damp after a typical cycle as possible signs that the lint screen or exhaust duct is blocked.
For a deeper look at timing and symptom-based decisions, use How Often Should You Clean Your Dryer Vent?.
3. Inspect the visible transition duct without improvising repairs
The short duct between a vented dryer and the wall can be damaged simply by pushing the appliance back too far. Check the accessible section for obvious crushing, sharp kinks, disconnected joints, or damage—especially after the dryer has been moved for cleaning or service. In this laundry room maintenance checklist, that inspection stays visual unless your dryer manual specifically supports further homeowner access.
CPSC cautions that flexible plastic or foil accordion-style ducting can trap lint more easily and is more susceptible to kinking or crushing than rigid or corrugated semi-rigid metal duct. Installation requirements still depend on the appliance manufacturer and local code, so do not substitute materials based on appearance alone.
4. Treat the full exhaust path as a separate maintenance job
Lint can accumulate beyond the filter and transition connection. CPSC advises cleaning the dryer vent and exhaust duct periodically. The right timing for your home depends on the dryer type, how often it runs, the length and routing of the exhaust, and whether warning signs are appearing.
A long run with multiple bends may behave differently from a short, direct run. Heavy household use can also make a calendar-only schedule less useful. When symptoms appear, inspect sooner rather than waiting for an anniversary date.
If the run is accessible and appropriate for homeowner maintenance, see Clean a Dryer Vent Safely: 8 Essential Steps. Stop if the job requires unsafe appliance movement, roof access, gas-line work, electrical repair, or disassembly beyond the owner’s manual.
Washer Water and Drainage: Checks 5–7
On the washer side, the laundry room maintenance checklist shifts from airflow to water containment and drainage. Dryer problems often announce themselves through performance. Washer leaks can be quieter. A small seep at a fitting may show up first as a mineral trail, softened cabinet material, staining, or a damp edge on the floor.
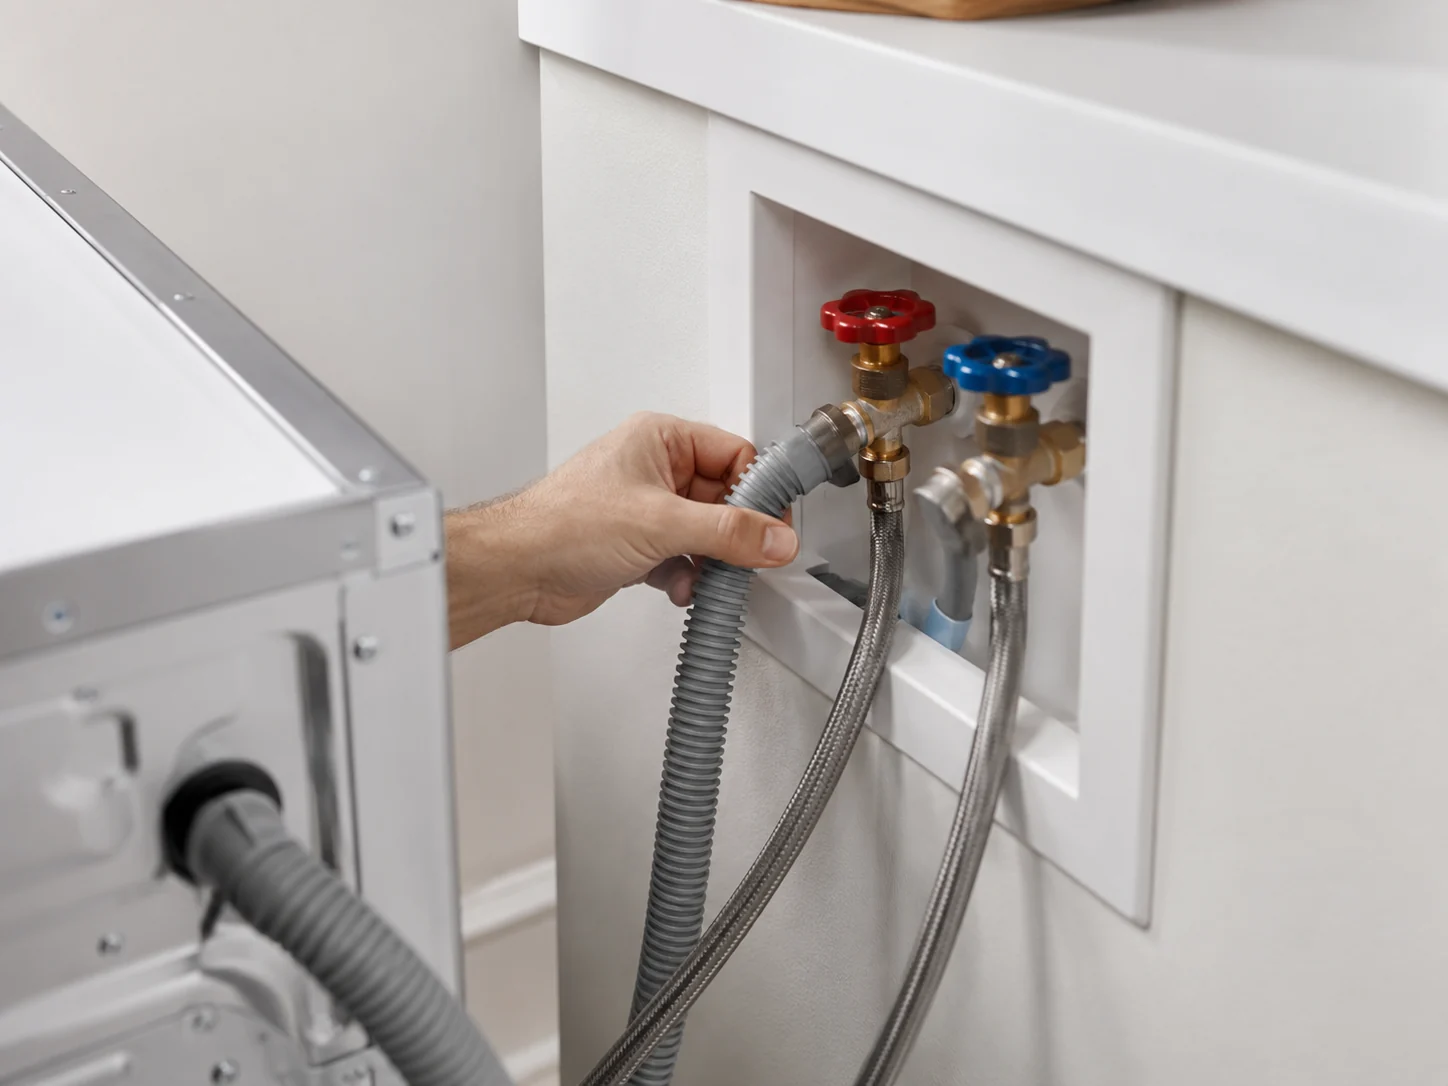
5. Inspect inlet hoses and fittings for change—not just catastrophic failure
Use a quick visual scan to look for bulges, cuts, cracking, kinks, corrosion at fittings, moisture, and active drips. Do not wait for a hose to burst before considering it a maintenance issue. A laundry room maintenance checklist is most useful here when it helps you notice small changes before they become active leaks.
Some manufacturers publish replacement benchmarks. For example, GE recommends replacing washer inlet hoses every five years or when installing a new washer. That is useful context, not a universal rule for every brand and hose. Follow the maintenance and replacement guidance for your washer and the hose set actually installed.
6. Look at the floor, fittings, and shutoff area before touching anything
Scan beneath and behind the washer as far as you can safely see. Look for dampness, rust-colored marks, mineral deposits, swollen trim, or a recurring wet spot. These clues can reveal a slow leak before there is standing water.
Visually check shutoff valves and hose connections, but do not force a corroded or seized valve just to “test” it. A valve that looks damaged, leaks when operated, or will not move normally is a repair issue—not a reason to apply more force.
After any washer move, recheck both supply connections before returning to normal use.
7. Check the visible drain hose and standpipe area
The drain side deserves its own inspection. Look for a hose that has slipped, kinked, cracked, or changed position. Check the visible standpipe or laundry-sink area for evidence of overflow, leaking, or repeated splashing.
If the washer suddenly drains slowly, leaves standing water, displays a drain error, or causes the standpipe to overflow, stop treating it as routine cleaning. The cause may involve a user-serviceable filter on some models, a hose problem, a pump issue, or a household drain restriction. Follow the model’s troubleshooting steps before removing parts.
Washer Moisture and Cleaning: Checks 8–10
Washer maintenance is where generic internet advice causes the most trouble. Front-load and top-load designs differ. Even within one brand, filter locations, cleaning cycles, and recommended intervals can change by model.
8. Remove the moisture and residue you can actually see
After loads, remove wet laundry promptly. Inspect user-accessible gasket folds, the detergent dispenser, and other areas identified in the manual. Wipe visible moisture or residue using a method and cleaner approved for the machine.
Where the manufacturer permits it, allowing the washer to air out between uses can help reduce trapped moisture. Do not turn this into a one-size-fits-all instruction—households with children or pets should also follow the appliance’s safety guidance for doors and lids.
A tub that looks shiny does not mean the rest of the washer is maintenance-free. Gaskets, dispensers, hoses, drains, and filters—when present—are separate areas.
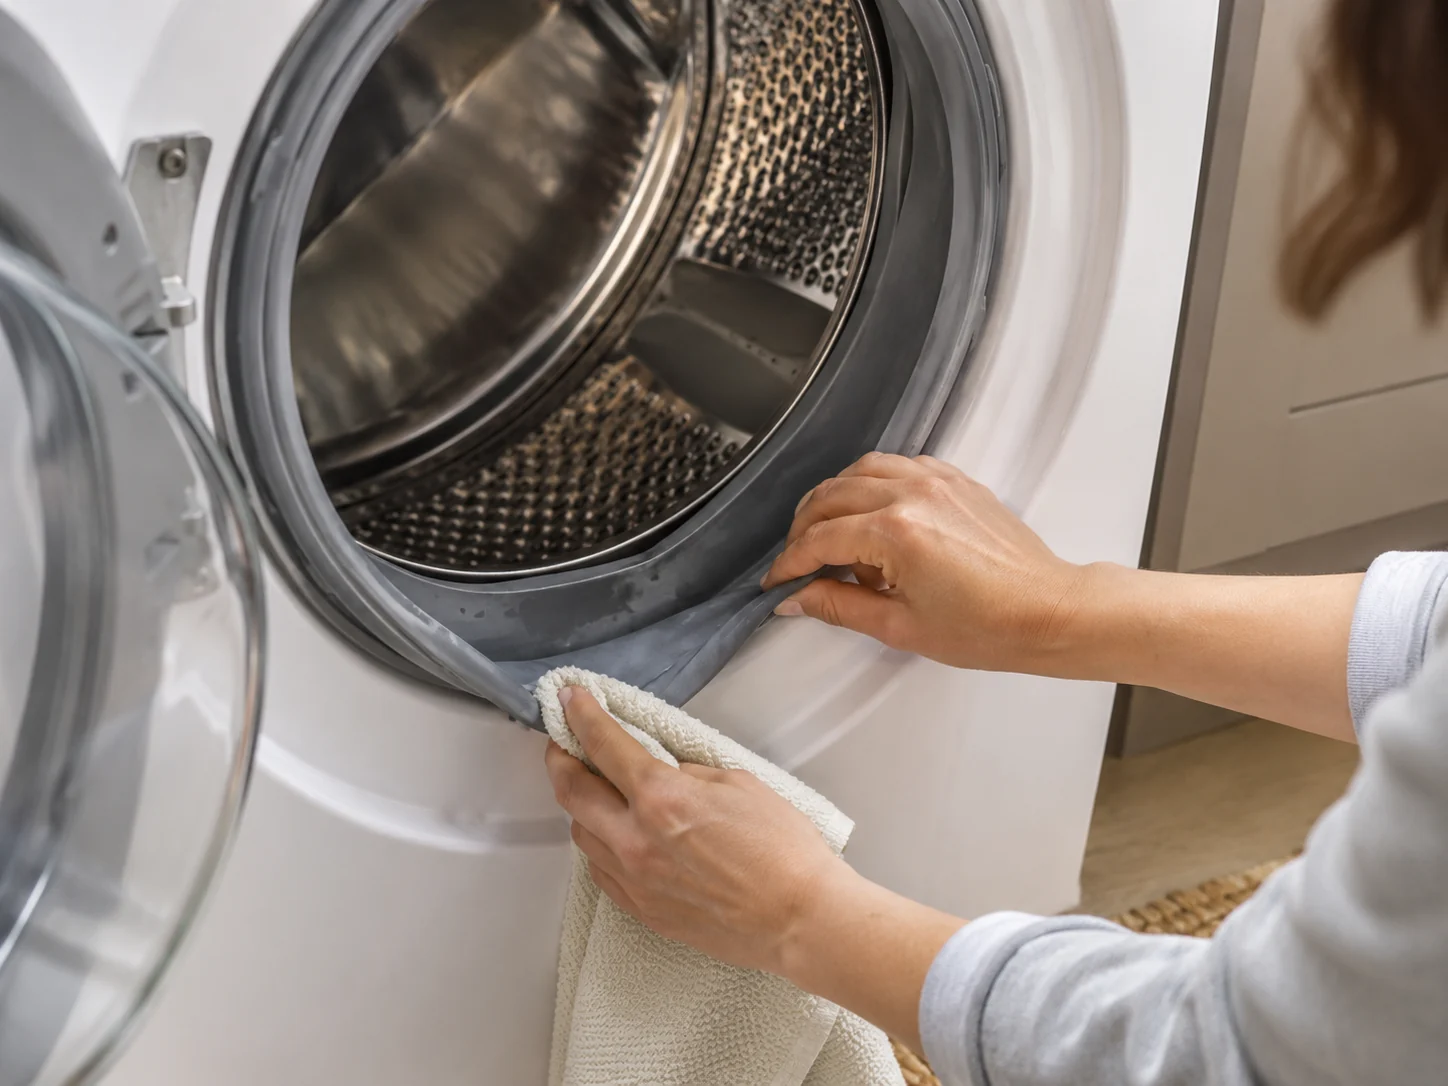
9. Run the washer’s Tub Clean or Self Clean cycle on the manufacturer’s schedule
Do not invent a universal “monthly” rule and assume it fits every machine. Use the cycle name, cleaner, and frequency specified for your model. Add that exact interval to your laundry room maintenance checklist instead of copying a generic schedule from another appliance.
As one current manufacturer example, Samsung says its Self Clean cycle should be run at least once per month and every 20 washes on top-load models or 40 washes on front-load models in the guidance for supported machines. Other brands and models use different reminders and intervals.
The practical lesson is simple: put your own model’s interval into your home-maintenance calendar. That turns a vague cleaning recommendation into a repeatable task without pretending every washer is the same.
10. Clean a washer filter only when your exact model has a user-serviceable one
Some washing machines have an accessible pump or debris filter. Others do not have a filter the homeowner is meant to remove. Location, draining procedure, and cleaning frequency vary substantially.
Before opening a small door or removing a cap because a video showed one, confirm the model number and read the manual. Residual water may need to be drained first, and forcing the wrong component can create a leak.
If your manual identifies a user-serviceable filter, follow its schedule. If it does not, do not create a maintenance task that the manufacturer never intended.
The Laundry Room Is Part of the System: Checks 11–12
11. Keep the space around appliances clean enough to inspect
CPSC advises cleaning behind the dryer where lint can build up and keeping the area around the dryer clean and free of clutter. This is more useful than it sounds: a clean floor and accessible perimeter make fresh lint, a slow leak, or a shifted connection easier to spot. Your laundry room maintenance checklist should therefore cover the room around the appliances, not only the machines themselves.
Vacuum loose lint and dust around accessible appliance edges without opening service panels. Keep combustible storage away from heat-producing equipment according to applicable fire-safety guidance and appliance instructions.
This is also a good moment to notice a new vibration mark, water stain, or appliance that has “walked” out of position.

12. Re-run the connection check any time a washer or dryer is moved
Moving an appliance changes the risk picture immediately. A dryer can be pushed back onto its transition duct. A washer hose can kink. A drain hose can shift. A power cord can become pinched. An appliance can sit unevenly after being repositioned. For that reason, repeat the connection portion of your laundry room maintenance checklist any time either appliance is moved.
Before the next normal load, visually recheck every accessible connection that movement could have affected. Do not attempt DIY repair on a damaged receptacle, cord, hard-wired connection, or gas fitting. If you smell gas, see sparking, find a scorched connection, or suspect an unsafe electrical or fuel-gas condition, stop using the appliance and follow the appropriate emergency or qualified-service procedure.
Warning Signs That Override the Calendar
A good laundry room maintenance checklist is not a reason to wait. These changes should move an inspection or service decision forward:
- Dryer: normal loads take substantially longer, clothes remain damp, the room or dryer becomes unusually hot, exterior exhaust weakens, lint appears around connections, or a hot/burning odor develops.
- Washer: new leaking, standing water, slow draining, repeated drain errors, a damaged or bulging inlet hose, persistent unexplained odor, or new violent movement/vibration.
- Connections: scorched electrical components, a damaged power cord, sparking, leaking shutoff hardware, or suspected gas leakage.
Several dryer airflow symptoms together are a strong reason to read Dryer Vent Needs Cleaning? 7 Warning Signs You Should Never Ignore.
A Realistic 10-Minute Monthly Laundry Room Maintenance Routine
This is the fast, repeatable part of the laundry room maintenance checklist. You do not need to perform a deep service every month. Use this short routine to catch visible change, then schedule deeper work only when it is due.
- Look behind and below both machines for new lint, moisture, staining, or displaced connections.
- Inspect washer inlet hoses and fittings for bulges, cuts, corrosion, kinks, or drips.
- Check the visible drain-hose area for movement, leaking, or overflow evidence.
- Inspect the dryer transition duct for obvious crushing or kinking without disconnecting anything unnecessarily.
- Observe the outside dryer exhaust during operation for a clear change in normal airflow or flap movement.
- Clean accessible lint and dust around the appliances so future changes are easier to notice.
- Check your maintenance calendar for any model-specific washer cleaning cycle, filter task, hose replacement benchmark, or deeper dryer-vent work that is actually due.
The goal is not to “service everything.” The goal is to notice what changed.
A Better Way to Use This Checklist
Store three pieces of information with your laundry room maintenance checklist: the washer model number, the dryer model number, and links or PDFs for both owner’s manuals. That eliminates guesswork when a filter, cleaning cycle, hose recommendation, or error code becomes relevant.
Then divide maintenance into three buckets:
- Every-load habits: lint-filter cleaning, prompt laundry removal, and basic observation.
- Quick visual checks: hoses, floors, drain area, exhaust outlet, visible ducting, lint, and appliance position.
- Scheduled/model-specific work: washer cleaning cycles, user-serviceable filters, hose replacement, full vent cleaning, and professional service.
This structure keeps the checklist useful without encouraging unnecessary disassembly or fake precision.
FAQ
What is the most important dryer task on a laundry room maintenance checklist?
Clean the lint filter every load. CPSC and ENERGY STAR both emphasize frequent lint-filter cleaning. It is not a substitute for maintaining the exhaust duct, but it is the most frequent airflow-maintenance habit.
How often should I clean the dryer vent?
CPSC says the dryer vent and exhaust duct should be cleaned periodically. The practical interval depends on use, duct length and routing, dryer type, manufacturer guidance, and warning signs. Longer drying time or weak exhaust airflow should prompt earlier investigation rather than waiting for a calendar date.
How often should washer inlet hoses be replaced?
There is no single replacement interval that should override every manufacturer’s instructions. GE, for example, recommends replacing washer inlet hoses every five years or when a new washer is installed. Check the guidance for your washer and installed hose set, and replace damaged or leaking hoses sooner.
Does every washing machine have a filter I should clean?
No. Some models have a user-accessible pump or debris filter; others do not. Confirm the exact model and manual before removing a filter or opening an access point.
Should I run a washer cleaning cycle every month?
Many current machines use regular tub-clean or self-clean reminders, but the interval is model-specific. Samsung, for example, publishes monthly and load-count guidance for supported models. Follow your machine’s cycle instructions rather than applying one generic schedule to every washer.
What should I check after moving a washer or dryer?
Recheck accessible water hoses, drain hose, dryer transition duct, power cord, appliance position, and any connection the move could have disturbed. Do not improvise repairs on electrical or gas connections.